




10 min read
Using the Box Pack
Bring your Box files into Superhuman Docs and turn them into something your team can actually work from.

What's covered:
- How to set up the Box Pack
- How to pull Box files into a live, structured table
- How to turn that table into something your team can work from
Add the Box Pack
First, add the Box Pack so your doc can connect to your Box account.
In your doc:
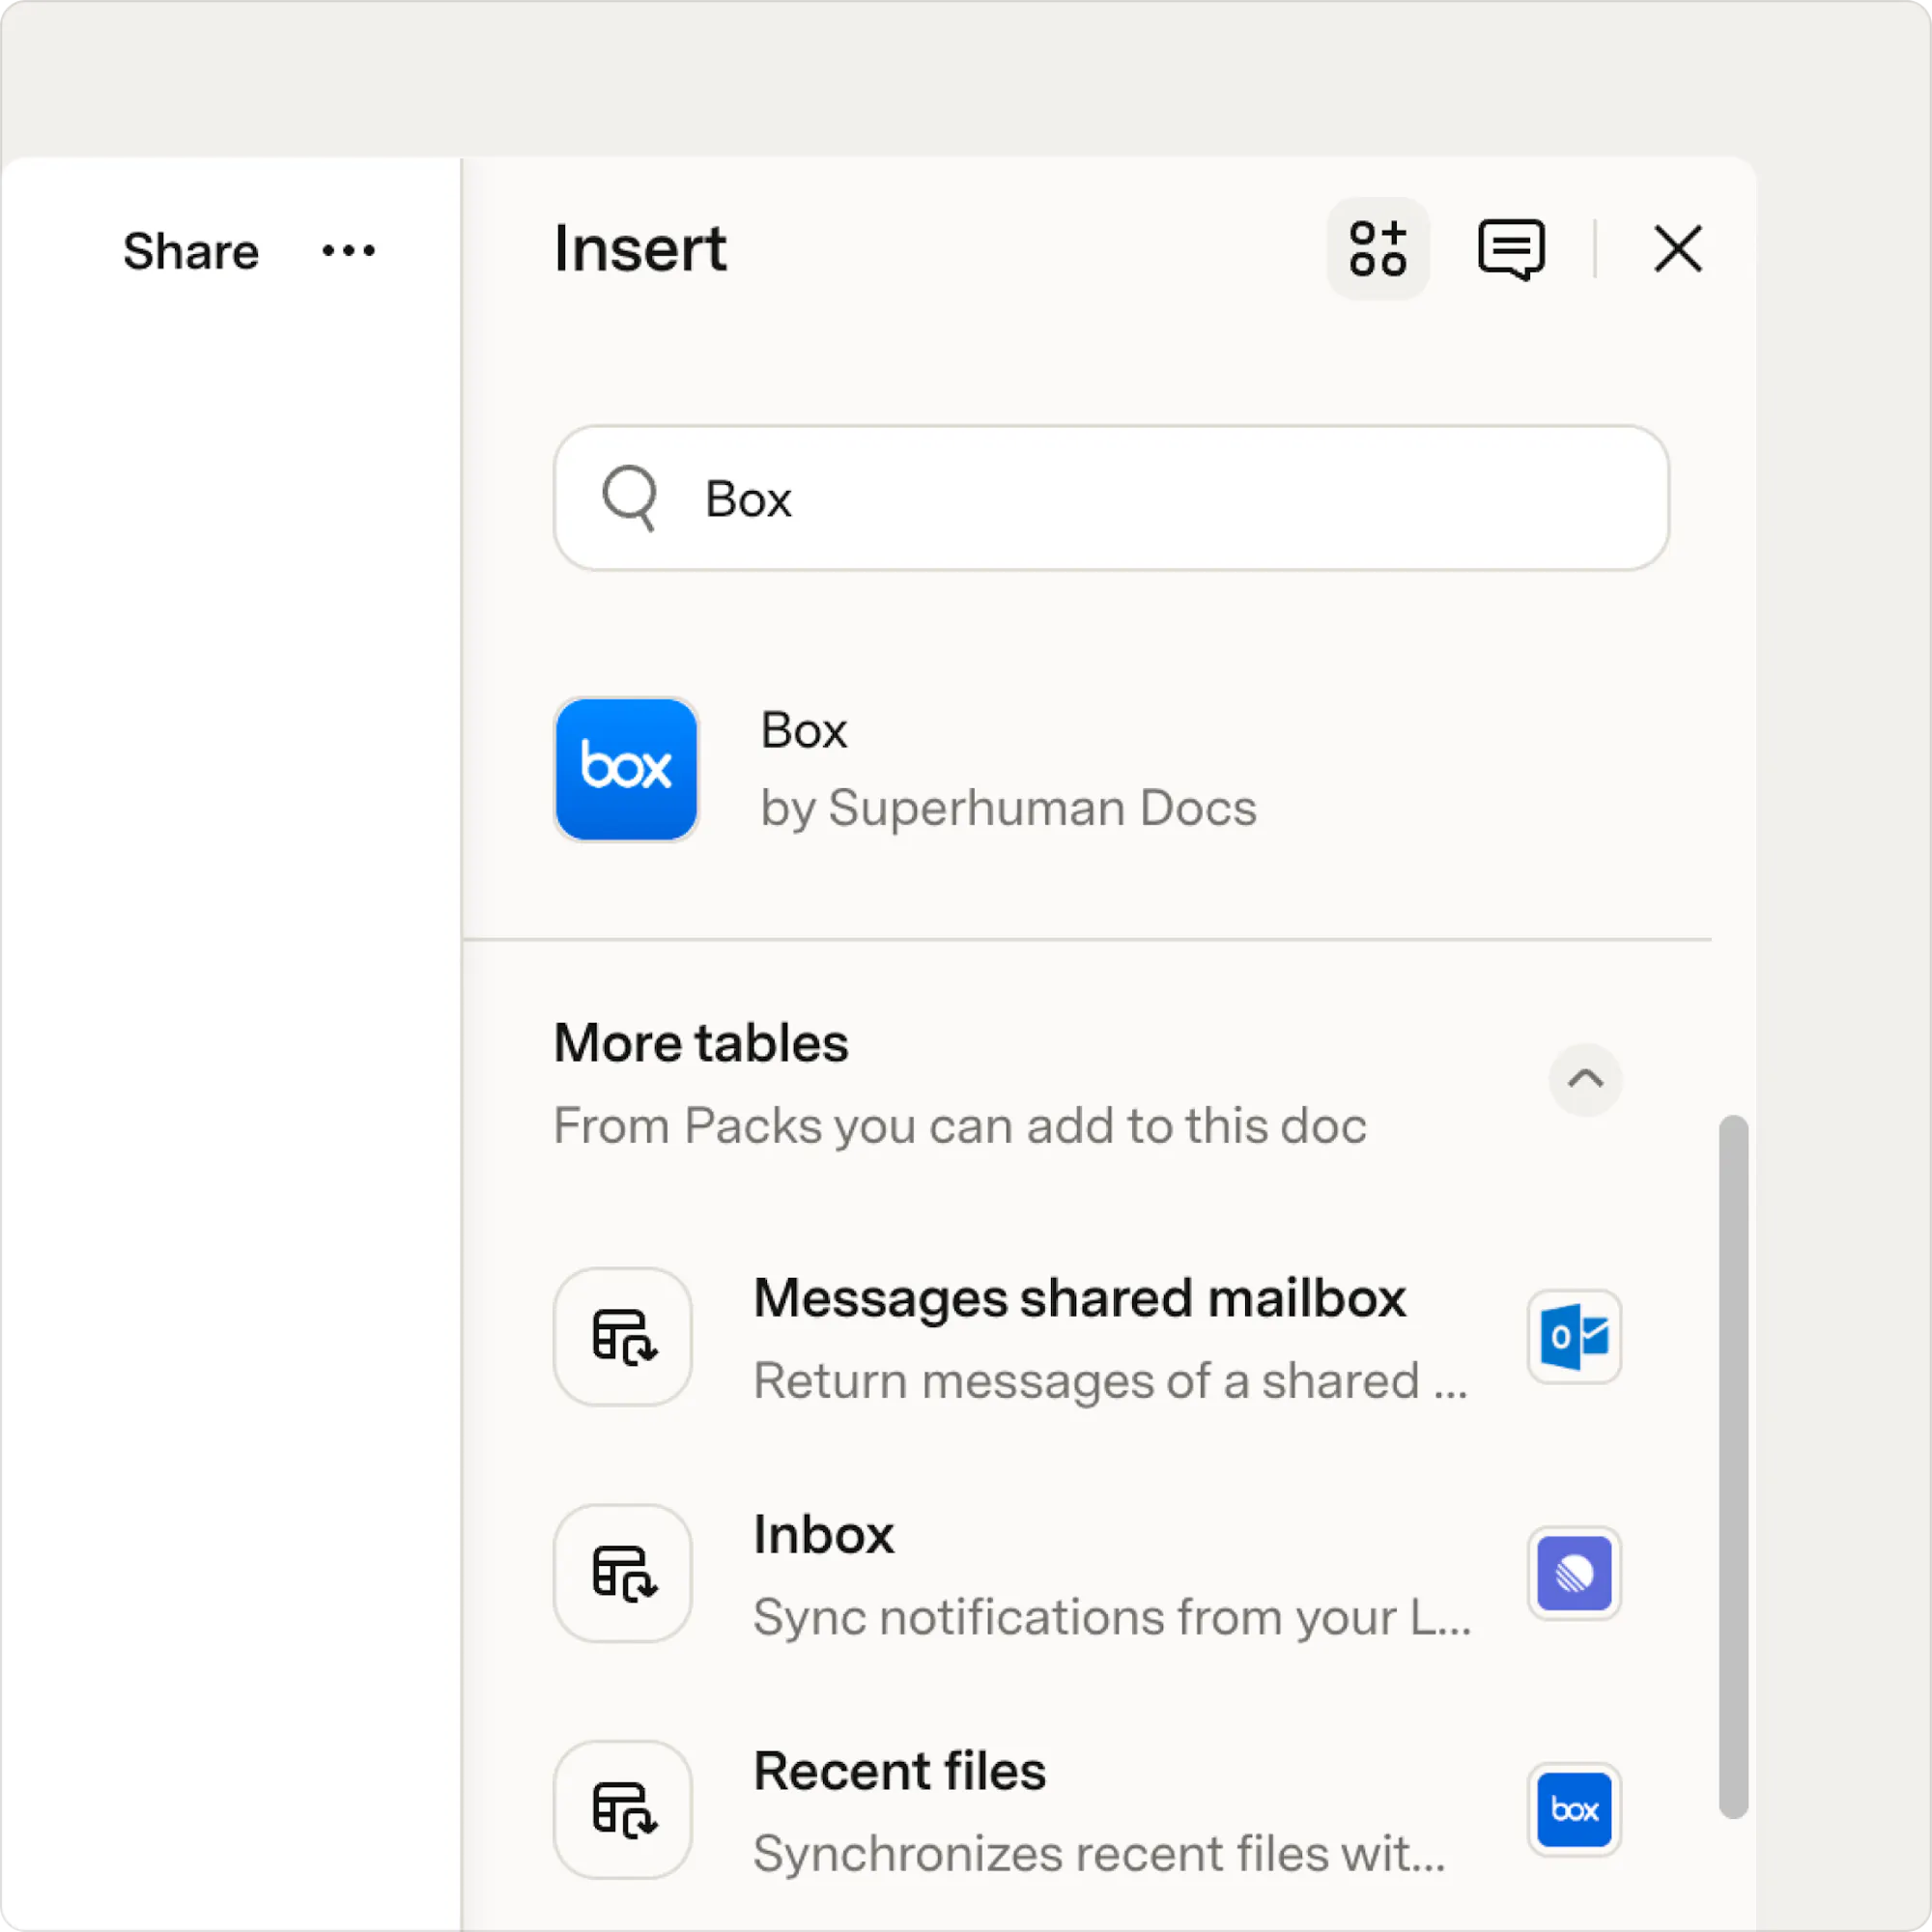
- Click the Insert button in the top right of your doc.
- In the search bar, type “Box” and select the Box Pack.
- Click Select configuration to connect the Box Pack to your workspace.
Add a table of Box files
Now, create a sync table to pull in your Box files.Add a table
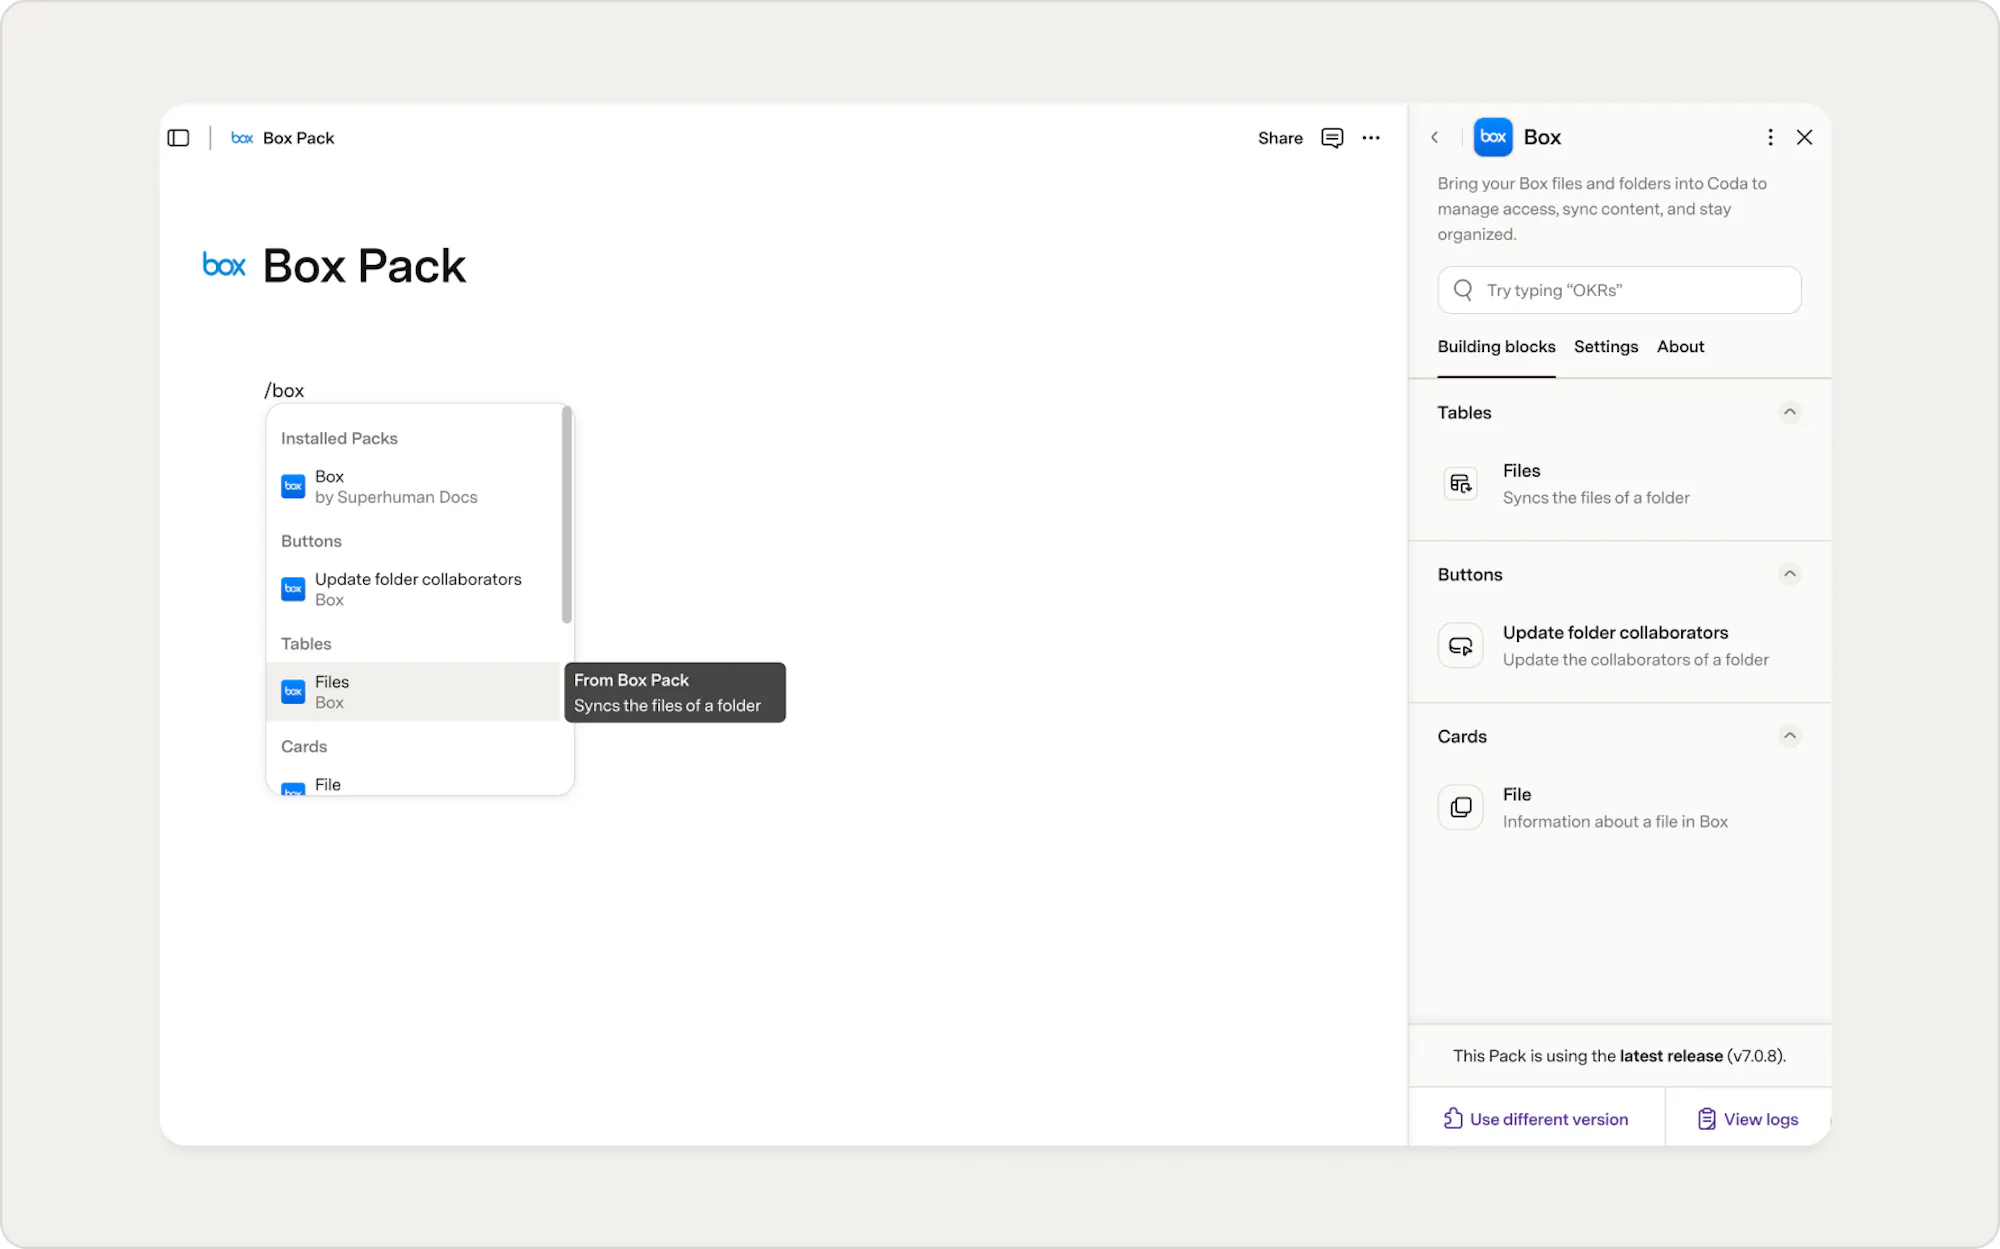
- Type "/box" on the canvas.
- Under Tables, choose Files.
- A table will be added to the canvas.
Configure the sync
After adding your table, select which files and content to bring in and how they will update over time.Select your folders
In the Pack settings, choose the Box folder you want to sync. The table will pull in all files from that folder.Add more folders (optional)
If your files live in multiple places, click Add another sync to include additional folders.Set the refresh cadence
Decide how often the table should be refreshed to reflect changes in Box. For frequently updated files, choose a more frequent refresh. For more static contzent, a daily or manual refresh may be enough. With these settings in place, your table will stay in sync with Box and automatically reflect updates to your files.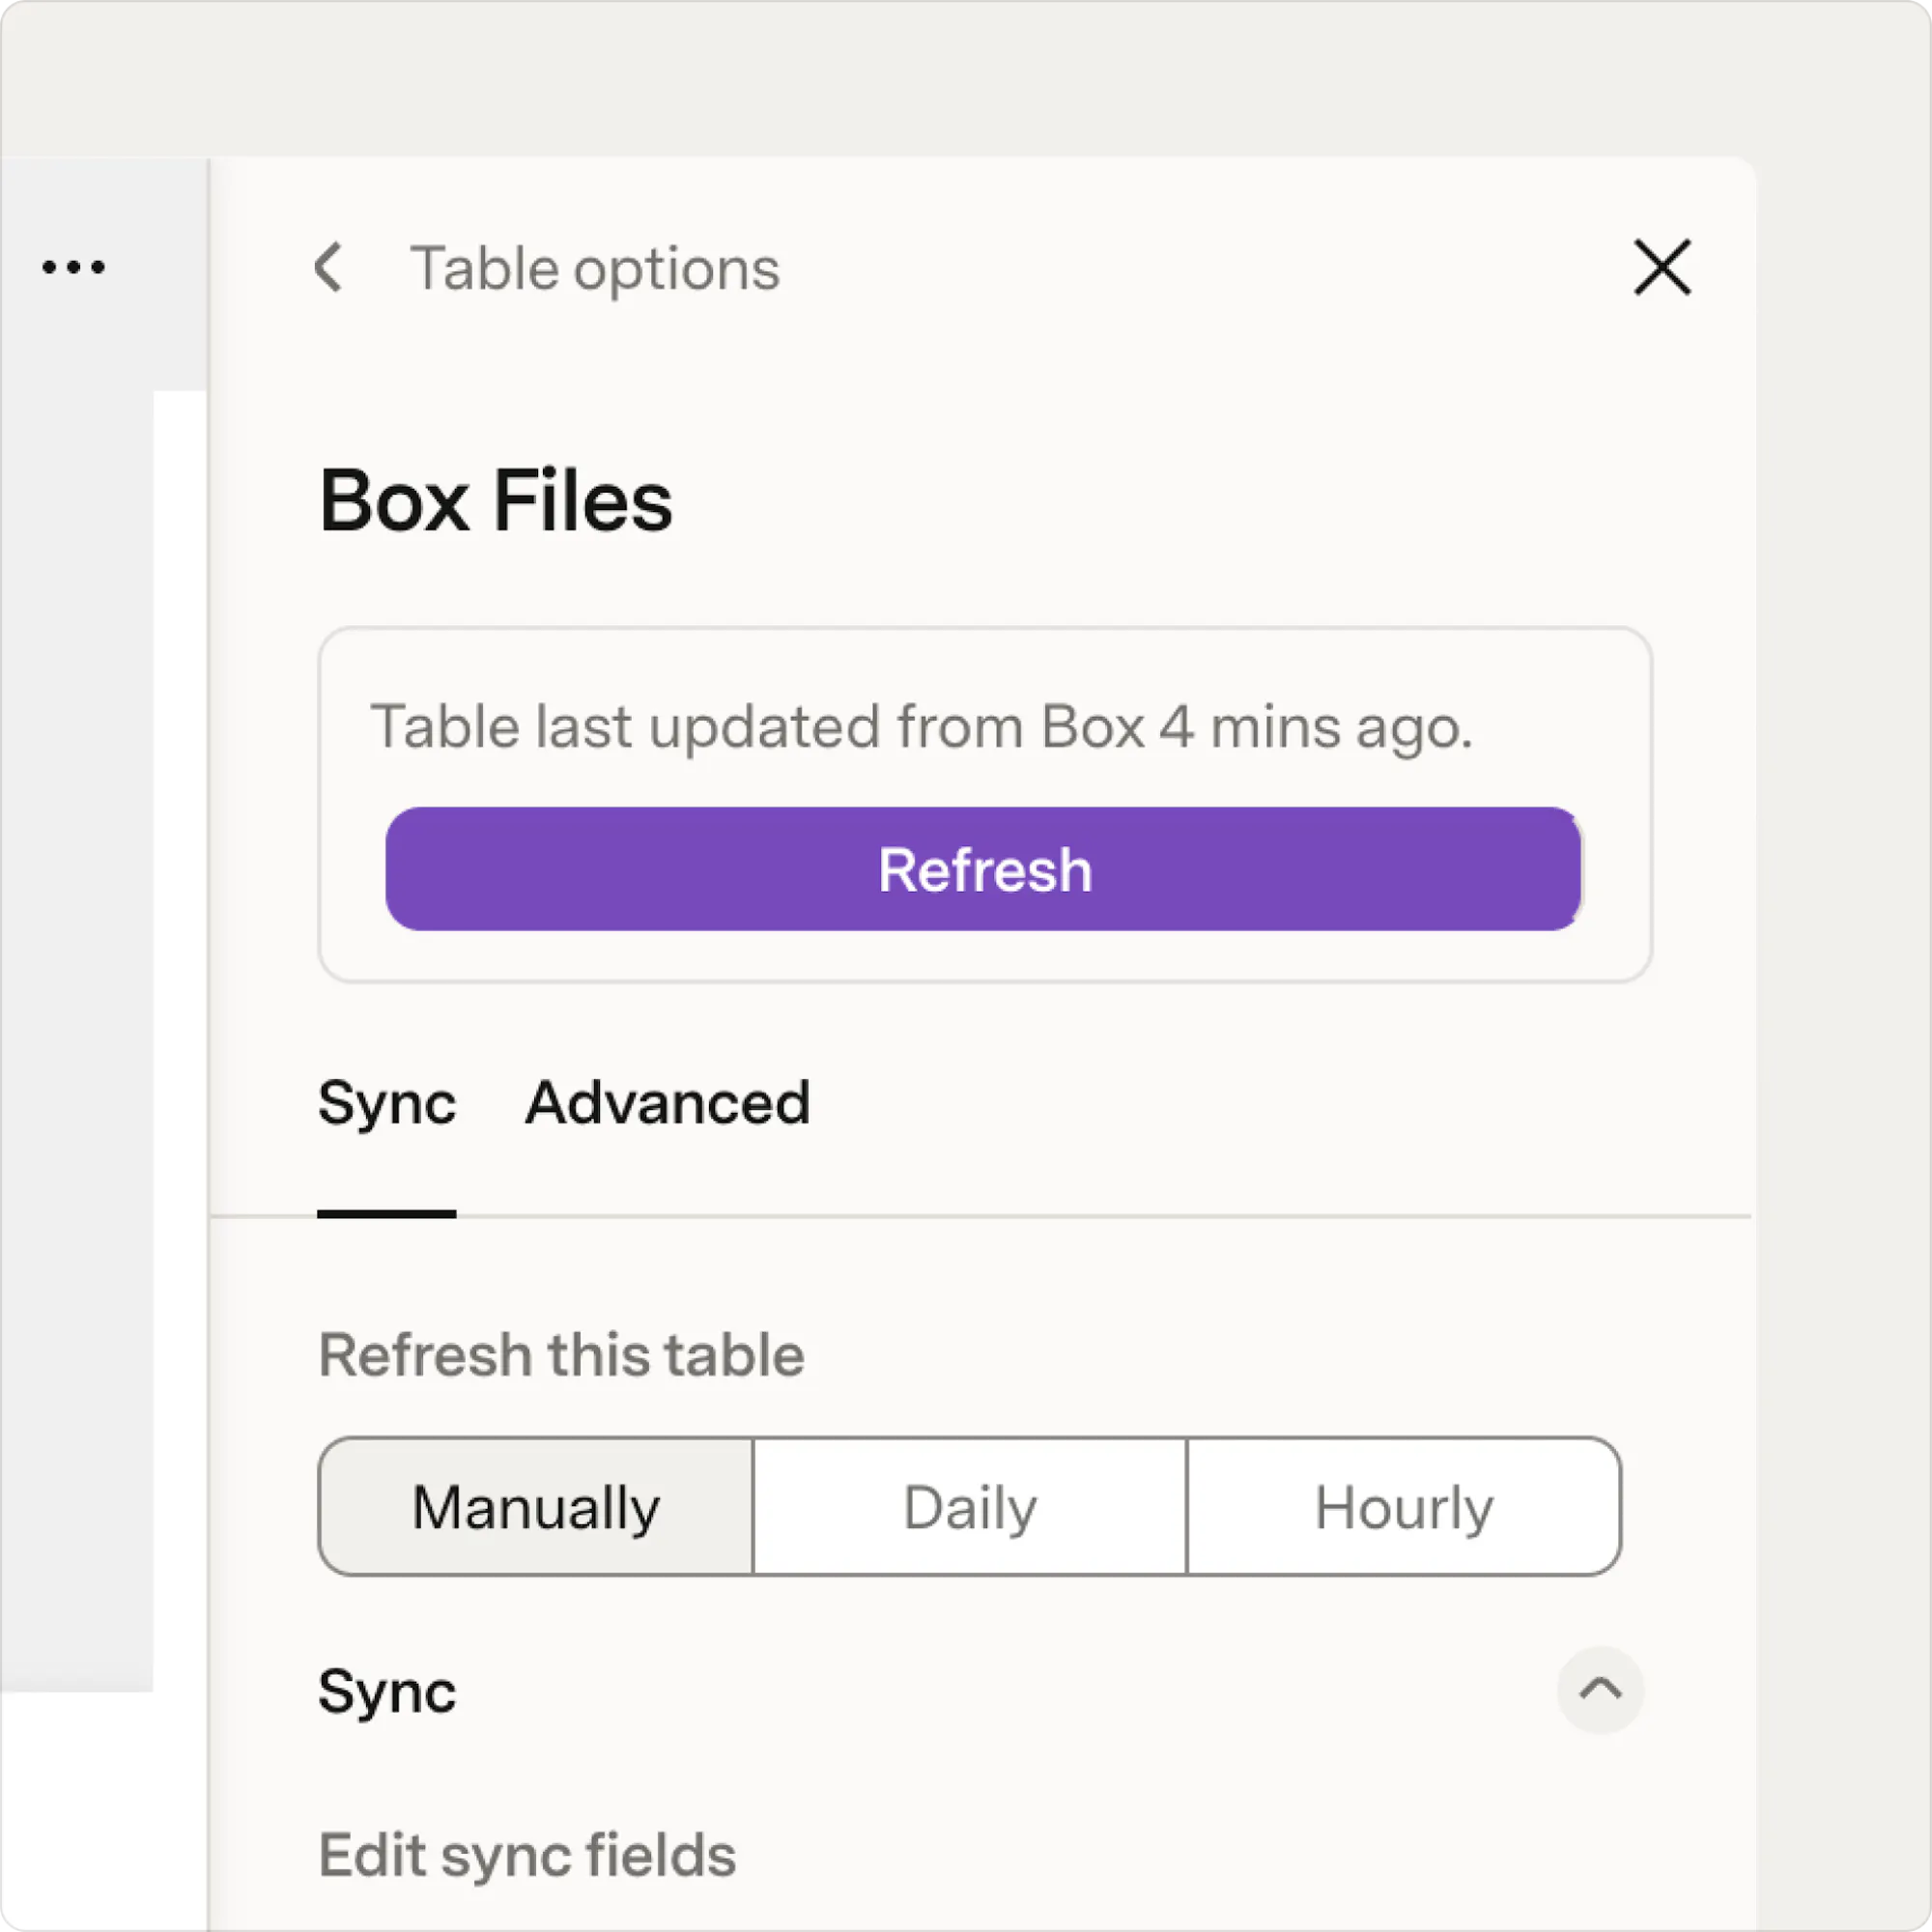
Enhance your tables
Now that your files are organized in a table, start building it out for your team. The data from Box gives you a strong foundation. You now have a live view of all files with added context for your team.Add columns
Start by adding columns that help your team understand and manage each file. For example:- Asset status
- Assigned owner
- Use case or audience
- Review date
Adjust how your table is displayed
Next, adjust your table layout so your team can scan and use it more easily.Filter by team
Show only the files relevant to a specific team or project.Create a card view
Display thumbnails with supporting context like “What this is for” or “When to use.”Add buttons
Create buttons that let you quickly open Box files directly from the table.Update folder collaborators with a button
You can start adding simple workflows to take action directly from your doc. Add a button to update folder collaborators without leaving your table.Unhide and reference the folder ID
To target the right folder for your button, you’ll need to reference its folder ID.- Hover over a file icon in your table.
- Click Folder ID, then choose Unhide fields to display it as a column.
Insert a button column
- Add a new column to your table.
- Change the column type to Button.
- Under Button type, choose Pack, then select the Box Pack.
- Select the action Update folder collaborators.
Configure the button
Now, you’ll tell the button what to update and who to add.Set the folder
Select a folder manually, or use the formula builder to reference the Folder ID column.For the Email field, either:
- Enter a specific email in quotes (for example, “name@company.com”).
- Reference a column by using the formula builder and selecting the email column.
Set the role
Choose the permission level, such as "editor," "viewer," or "uploader."
Handling multiple emails
If you’re adding multiple email addresses, enter them in a single column, separated by commas. You can use
.Split(",") in the formula to turn them into a list. Example formula: [thisRow].[EmailColumn].Split(",")Enhance your workflows
Once your table is set up, you can start using it to manage real workflows, not just organize files. Here are a few ways teams use it.Asset management
Your brand team stores logos, templates, and imagery in Box, but it’s not always clear which assets are current or who owns them. When you pull those files into Superhuman Docs, you get one place to track and manage your assets. You can:- Add columns like status, owner, or review date.
- Mark assets as “Up to date” or “Needs revision.”
- Assign the next reviewer directly in the table.
Team wiki or resource hub
When you’re onboarding a new team member, you might have plenty of resources in Box, but it’s not always clear when to use each one or how they fit together. By bringing those files into Superhuman Docs, you can turn them into a structured, searchable hub with the context your team actually needs. You can:- Add columns like When to use, Target audience, and Notes.
- Provide guidance on how each resource should be used.
- Link to related docs or workflows.

Best practices and governance
A few simple habits will keep your table accurate, useful, and easy to rely on.
- Permission alignment: Make sure Box permissions match who should be able to view or edit those files in your doc. If something’s restricted in Box, it’ll be restricted here too.
- Add meaningful context: Use extra columns like status, owner, or purpose to add context that your team can act on.
- Keep ownership clear: Assign owners to important files or folders so it’s clear who is responsible for keeping things up to date.
Now what?
Start with one doc, like a brand asset library or a team resource hub. Add the Box Pack, bring in a folder, and create a table with a few columns to organize your files in one place.Want to go deeper?
- Learn more about configuring table sync settings and refresh cadence.
- Troubleshoot Packs in your doc if something isn't syncing as expected.
Was this helpful?
YesNo